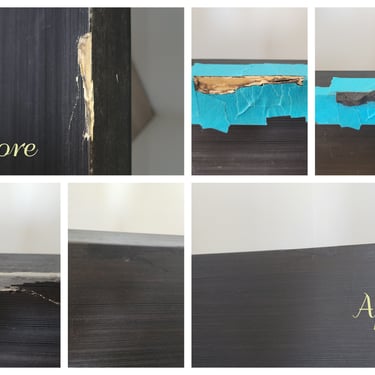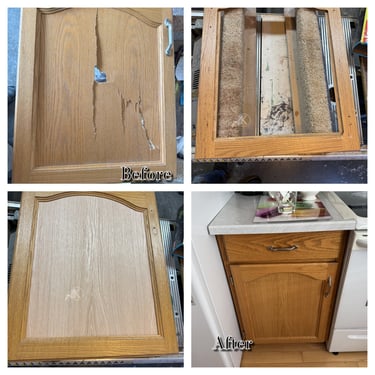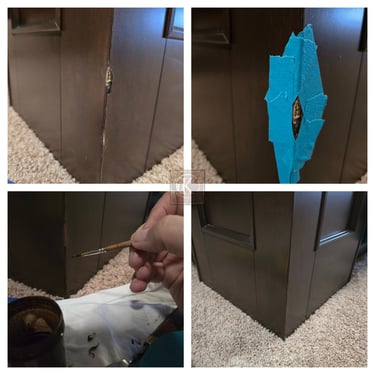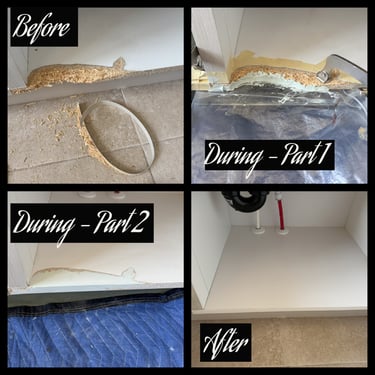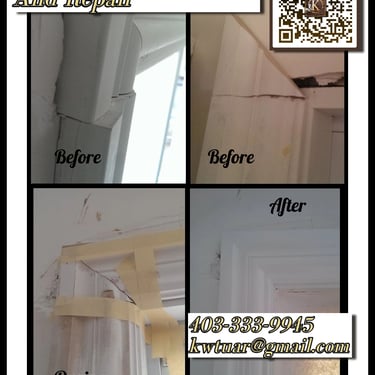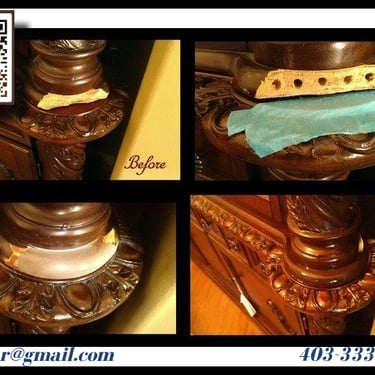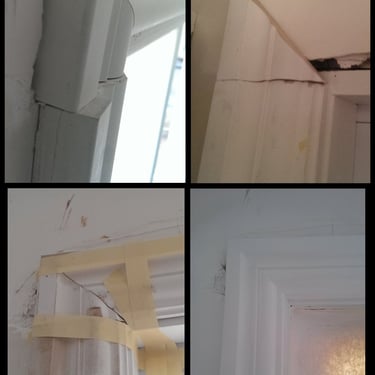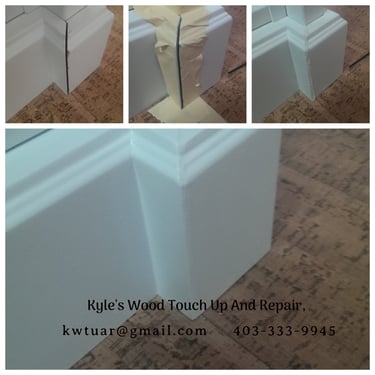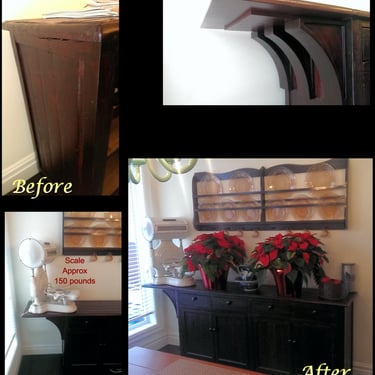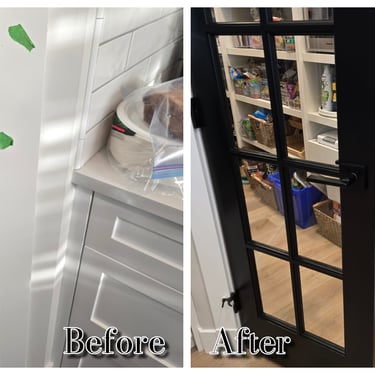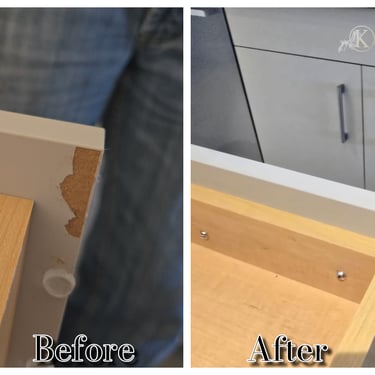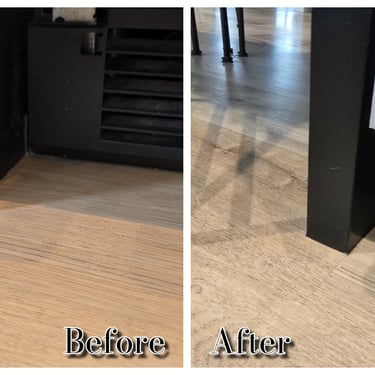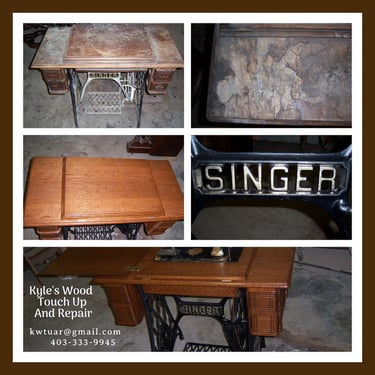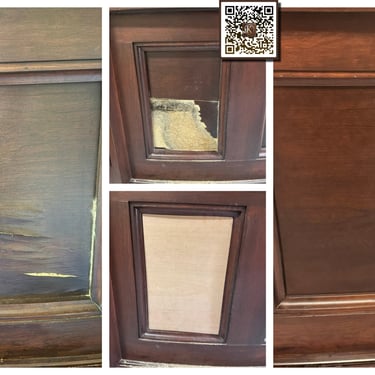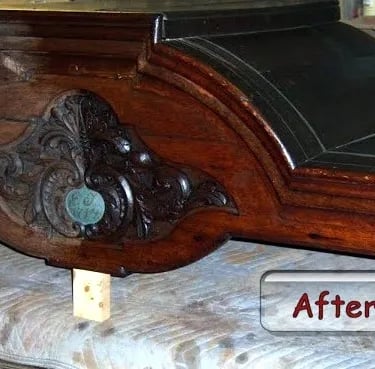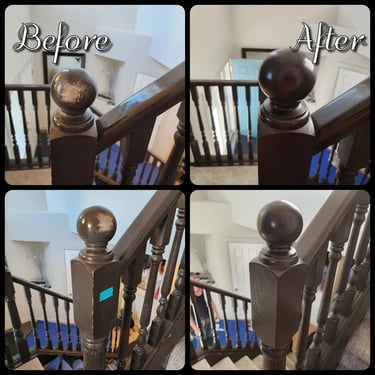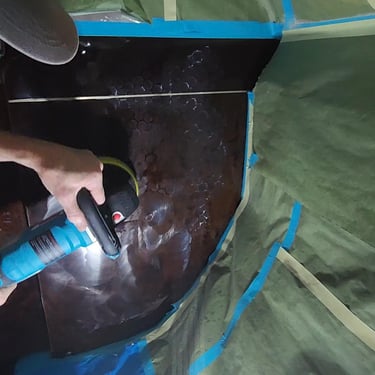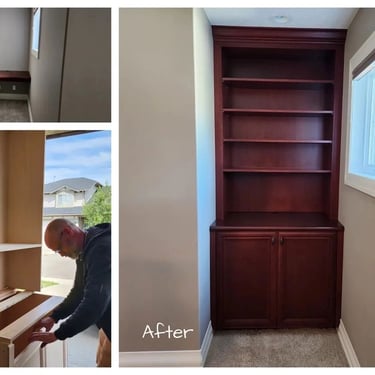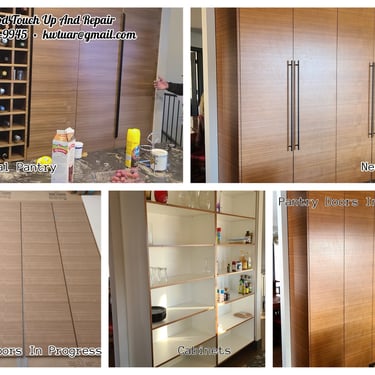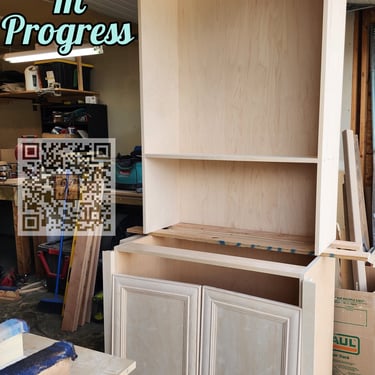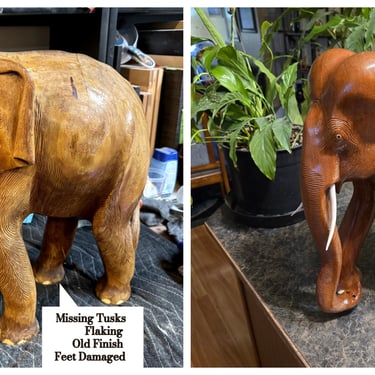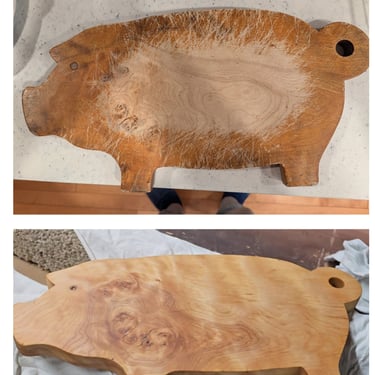

Before & After Restorations
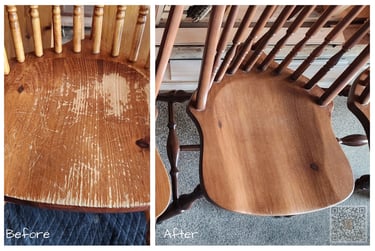
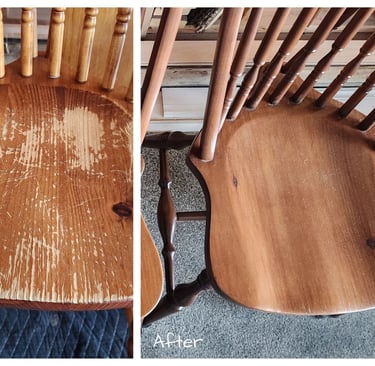
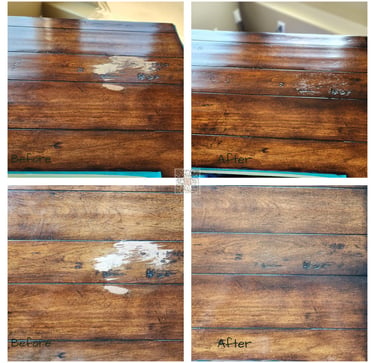
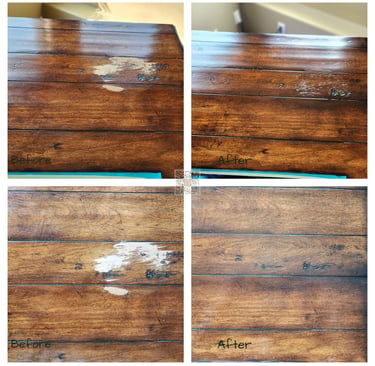
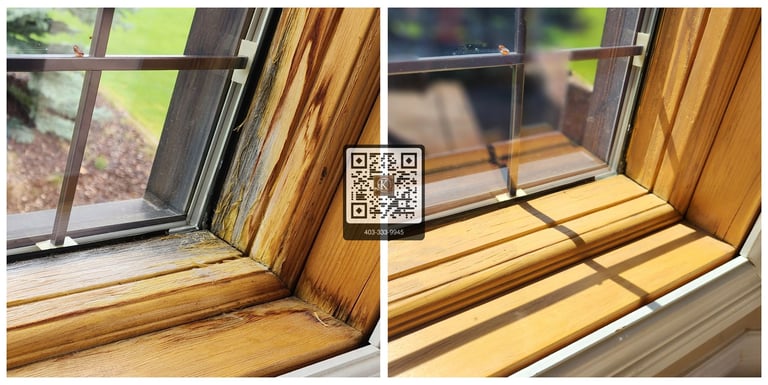
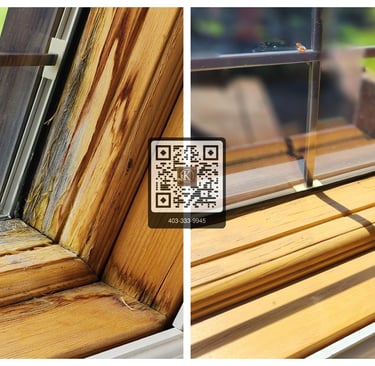
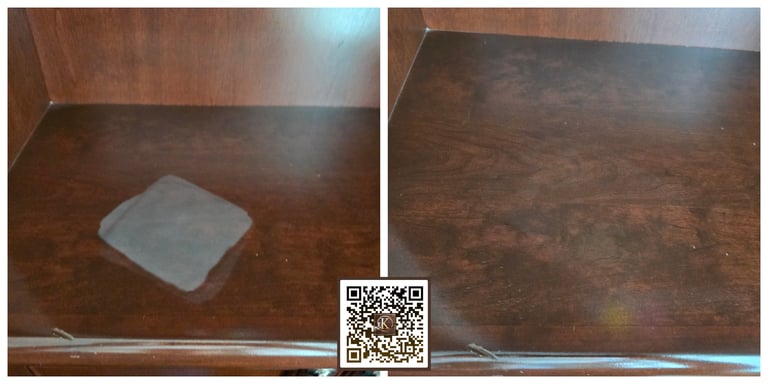
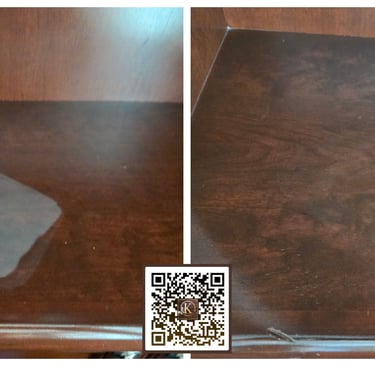
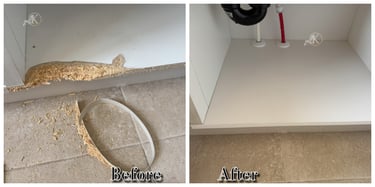
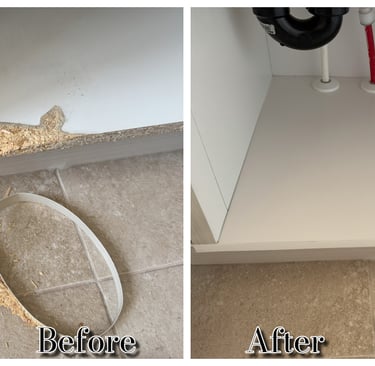
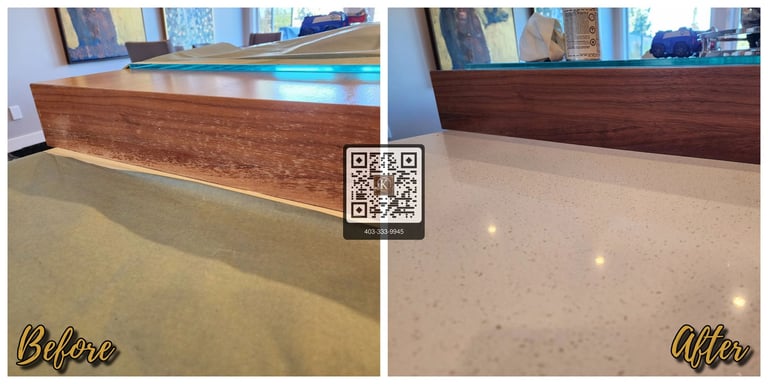
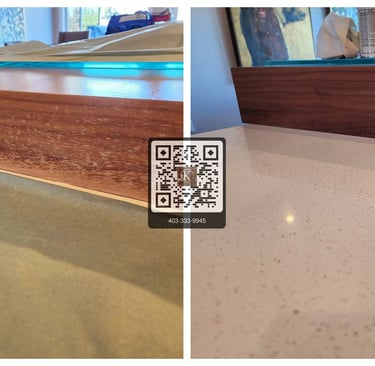
Before & after moments that speak to expert care.
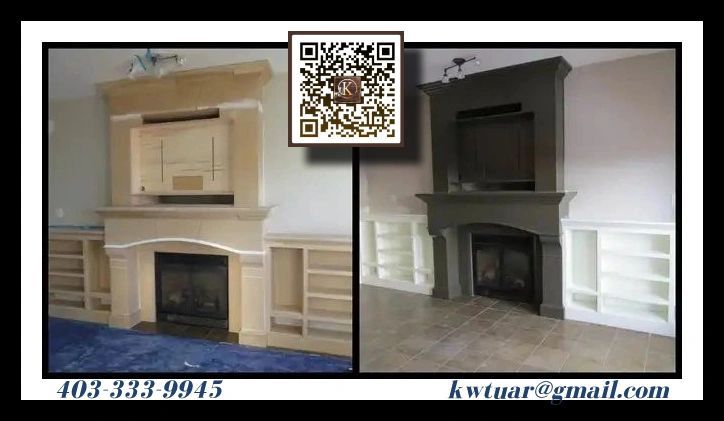
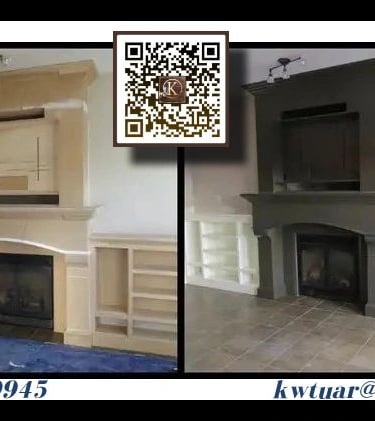
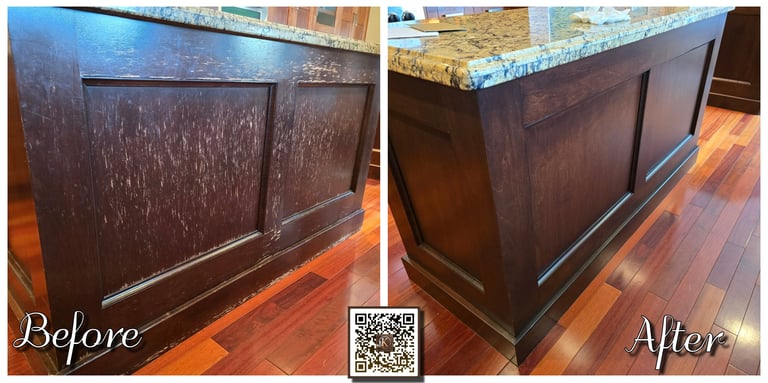
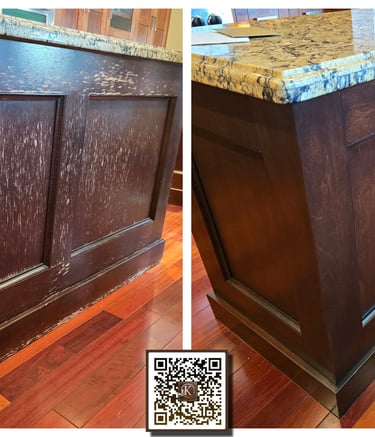
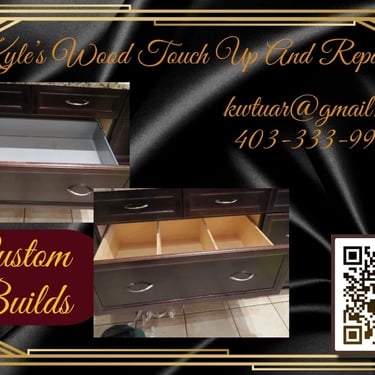
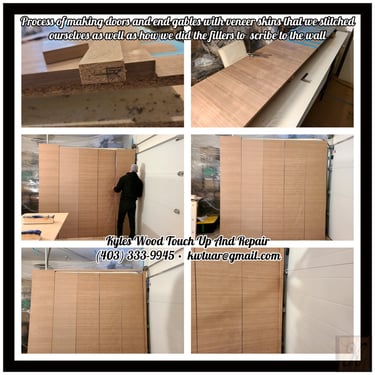
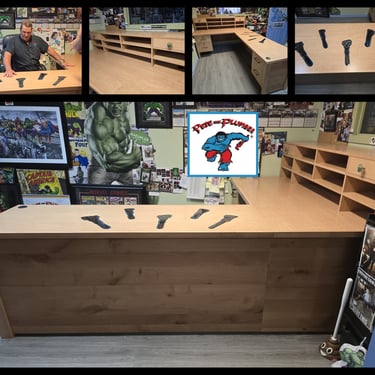
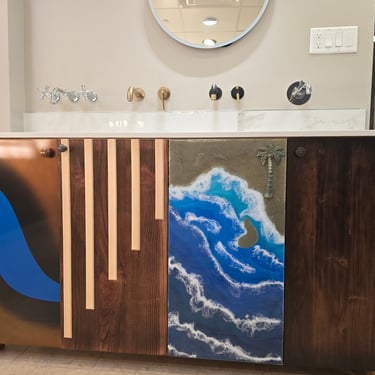
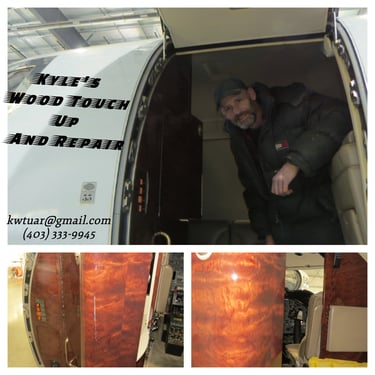
Touch Up's And Repairs
“Explore a collection of fine wood touch-up, restoration, and refinishing projects showcasing the craftsmanship, precision, and attention to detail behind every restoration. This gallery represents only a small selection of our work, with many more completed projects and transformations beyond what is shown here.”